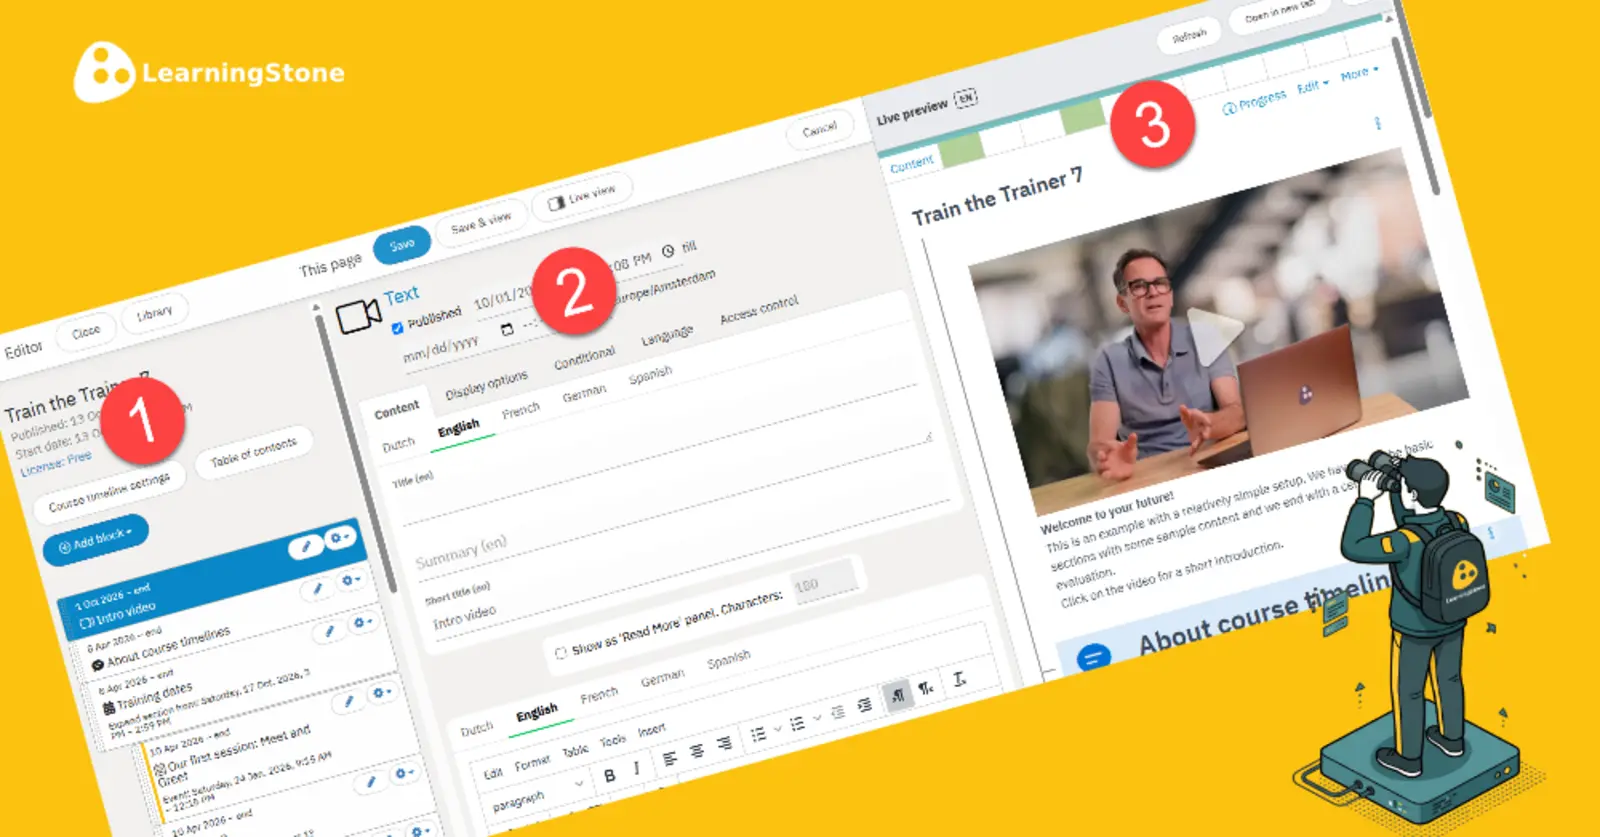
This is how it works in 1,2,3
1. Choose a block
Open the course timeline editor and click on the block you want to work on. This can be a text block, an event, a form or any other course timeline block. The block opens in the editor, and the rest of your course timeline stays in view.
2. Edit the block
Change the text, add an image or video, or adjust the design options, just as you are used to. You stay in the same screen, so you keep the overview of where the block sits in your course timeline.
3. Click on “Live view” to save and see the result
Click on “Live view”. Your changes are saved and you immediately see the block the way your participants will see it. Want to change something? Edit again and click once more. No more “Save and view” and searching for the block in the course timeline.
Made for all screens
On a wide screen, the editor and the live view sit next to each other. You can edit, check, adjust and check again in seconds. This saves a lot of time, especially when you are building a long course timeline with many blocks. If you have less space try dragging the sides of each frame (menu, editor, live view) to ajust what you see.
Bonus: a multilingual grid view
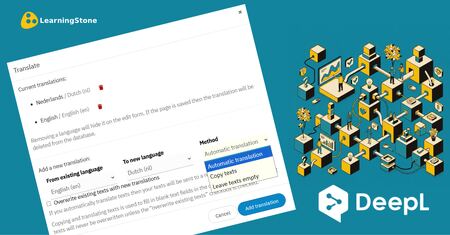
We recently added AI translation to LearningStone. Now we have also added a multilingual grid view for editing. First translate your course timeline, then click on “Show translations”. All languages appear next to each other in a grid - just click to edit!